Why doesn't your music sound like theirs?
You’ve spent hours on your new track. The arrangement is solid, the sounds are unique, and the mix seems pretty good to you. But when you play it next to a professional track from your favorite artist, something feels off. It lacks that polished, powerful punch you hear on streaming platforms. The bass isn't as tight, the highs aren't as crisp, and the overall volume is... well, lower. The gap between your music and theirs often comes down to one critical, often overlooked practice: using reference tracks.
This article is your guide to mastering the art of referencing. It’s not about copying someone else's work; it’s about using professional mixes as a blueprint to train your ears, identify your mixing weaknesses, and make informed decisions. We'll show you how to listen like a pro and use this simple but powerful technique to elevate your music to a professional standard.
Day 1: The foundation – choosing the right references
The first step to effective referencing is choosing the right track to compare against. A bad reference track will lead you down the wrong path.
Your mission:
- Be genre-specific: Pick 2-3 tracks that are in the exact same genre and subgenre as your track. If you're making melodic techno, don't use a deep house track as a reference.
- Choose high-quality audio: Use a high-quality file format (WAV or FLAC) or a high-quality streaming service (like Spotify Premium or Tidal). A low-quality MP3 will give you a flawed comparison.
- Find the "vibe": Choose a track that has the sound and feel you're aiming for. It should have a similar arrangement, a similar energy level, and a similar sonic signature.
Why this matters: The right reference track acts as a goalpost, giving you a clear, objective target to aim for during your production and mixing process.
Day 2: The process – A/B testing with purpose
A/B testing is the core of referencing. It’s the act of switching between your mix and the reference track to compare them.
Your mission:
- Set up for a level match: Load your reference track into a separate audio channel in your DAW. Crucially, reduce its volume so it matches the perceived loudness of your mix. Your mix might sound louder just because it's quieter and less compressed, so be careful.
- Listen in short bursts: Don't listen to a full song. Loop a short section (e.g., the drop) and switch back and forth between your track and the reference every few seconds.
- Focus on specific elements: Don't try to hear everything at once. Focus on one element at a time.
- The low-end: Does your kick drum have the same punch and weight? Is your bassline as clear and present?
- The midrange: Is your lead synth or vocal cutting through the mix like theirs?
- The high-end: Are the hi-hats and cymbals as crisp and clear? Or do they sound harsh?
Why this matters: A/B testing allows you to make quick, objective comparisons, training your ears to hear the subtle differences that separate an amateur mix from a professional one.
Day 3: Going beyond the mix – referencing for arrangement and sound design
Referencing isn't just a final mixing tool. It can and should be used throughout your entire production process.
Your mission:
- Reference during arrangement: When you’re stuck on an arrangement, listen to your reference track. How long is their intro? Where does the breakdown start? When do they introduce the main melody? Use their structure as a guide for your own track.
- Reference for sound design: Can't get your bass to sound right? Find a reference track with a bass sound you love. Deconstruct it mentally: is it a sub-bass? Does it have a lot of midrange? Is it distorted or clean? Use these insights to guide your own sound design.
- Reference for effects: Are you using too much reverb? Too little? Listen to how the reference track uses effects. Do the vocals have a lot of delay? Does the kick drum have any reverb on it?
Why this matters: Integrating referencing into your workflow from the beginning prevents you from going too far down the wrong path and saves you valuable time later on.
Day 4: Final checks – the mastering reference
Before you send your track off to be mastered, a final reference check can ensure your mix is master-ready.
Your mission:
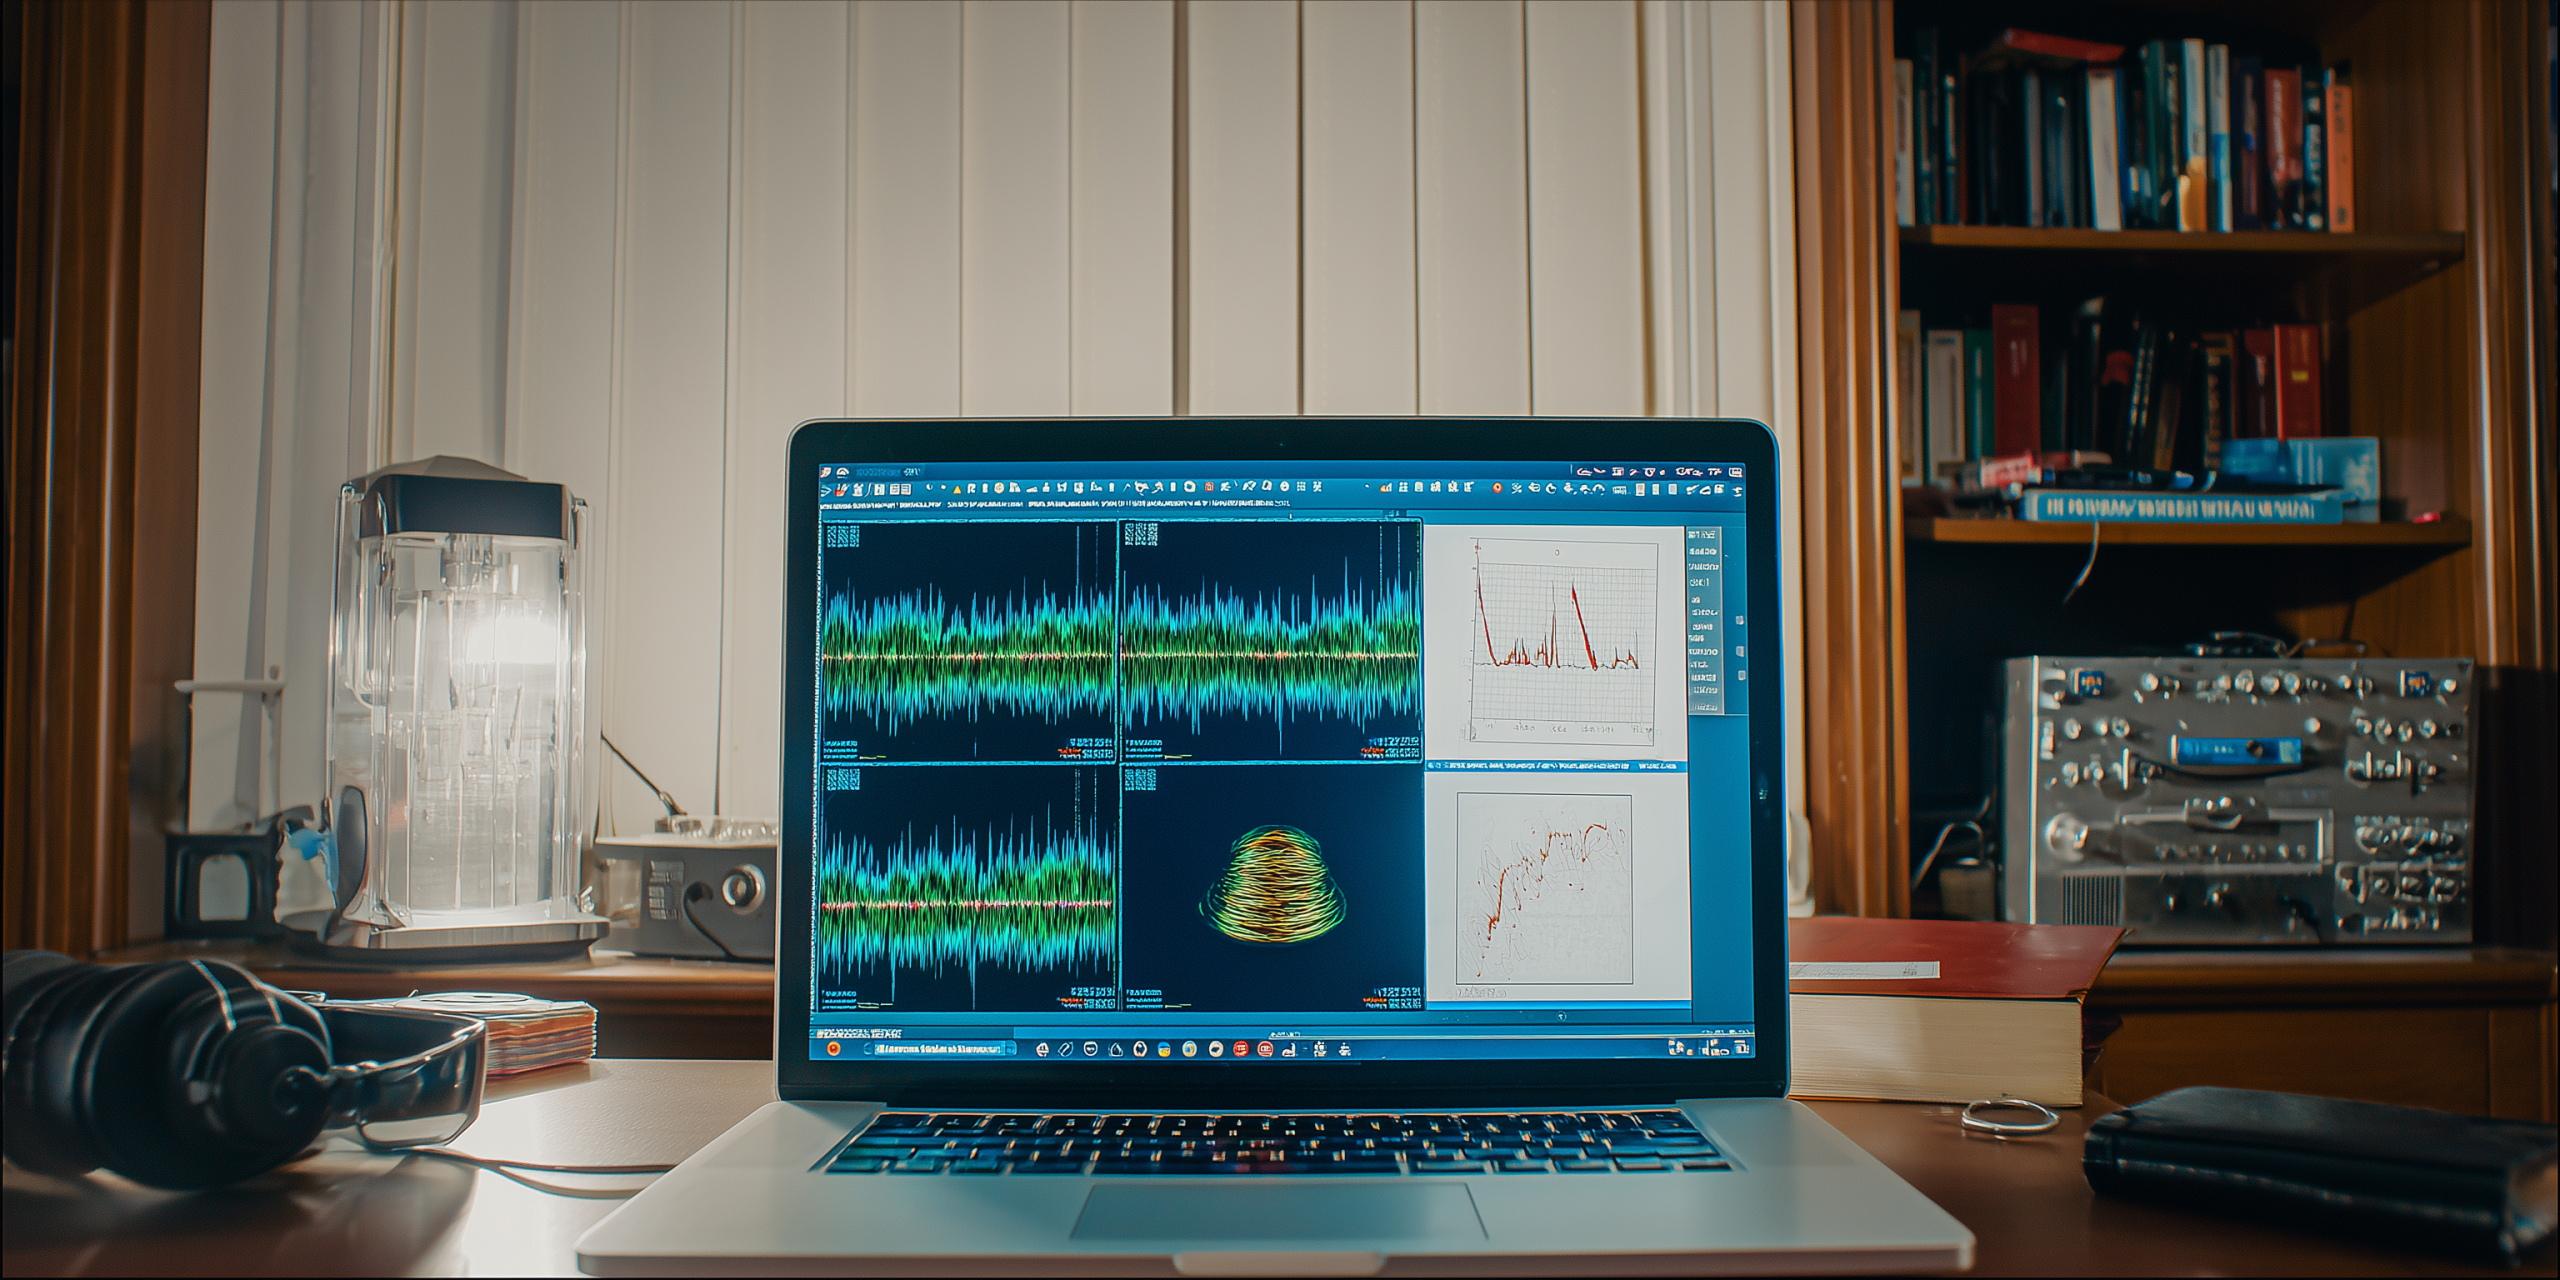
- Check for dynamic range: Look at the waveforms of your track and the reference track. A professionally mastered track will have a full, dense waveform, while your unmastered track will have more peaks and valleys. If your track’s waveform looks too compressed, it means your mix is likely too loud and needs a rethink.
- Check the stereo field: Use a stereo visualizer in your DAW. Does your mix have a similar width to the reference? Is your low-end in the center, or is it too wide?
- Check on different systems: Listen to both your mix and the reference on a variety of systems: laptop speakers, headphones, car stereo, etc. If your bass disappears on your laptop speakers but the reference’s bass is still audible, you might have a problem.
Why this matters: Referencing at the final stage helps you iron out any last-minute issues and ensures your track is well-balanced and ready for the mastering process.
The final polish
Using reference tracks is a skill that takes practice, but it’s one of the most effective ways to level up as a producer. It teaches you to listen critically, make deliberate choices, and close the gap between your passion project and a professional-grade track. Stop guessing, start comparing, and watch your music transform.
