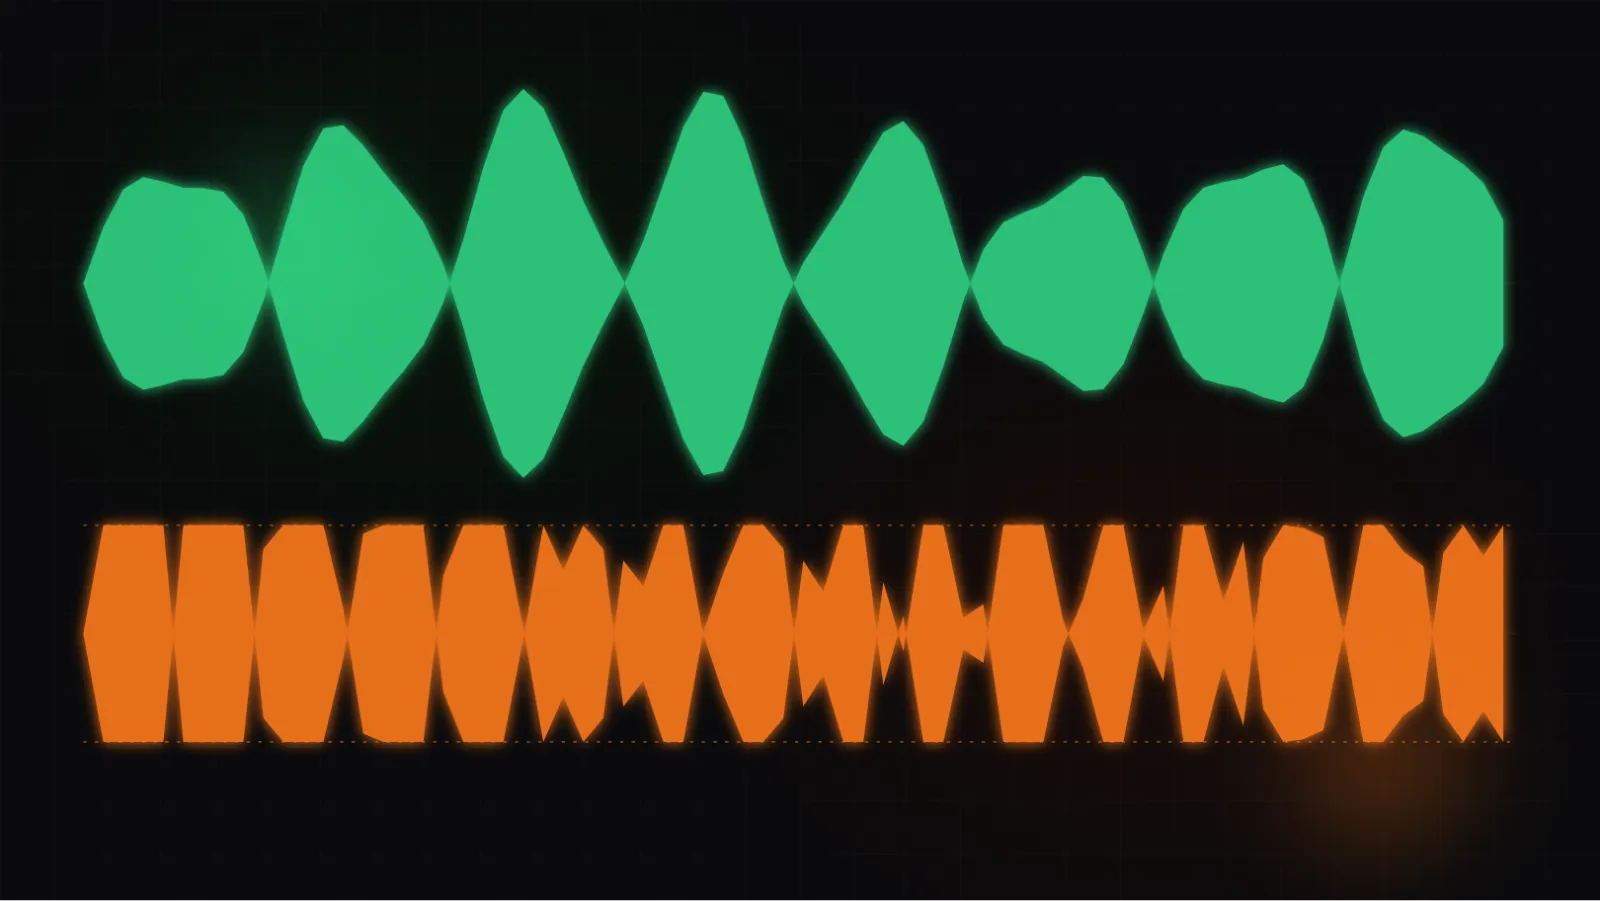
For years, mastering louder than the track before yours was a real competitive advantage. It is not anymore. Every major streaming platform now measures how loud your track actually is and turns it down if it exceeds their target, which means a master pushed to the edge of distortion does not play back any louder than a well-balanced one, it just plays back more squashed. Understanding LUFS is what tells you when to stop pushing the limiter.
What LUFS actually measures
LUFS stands for Loudness Units Full Scale, and it measures perceived loudness averaged over time, not the height of the tallest peak in your waveform. This is the detail that trips people up: a peak meter tells you the loudest single moment in a track, LUFS tells you how loud the track feels as a whole. Two masters can share an identical peak level and still sound completely different in loudness, because one has short, controlled peaks over a dense, high-energy body, and the other has occasional spikes over mostly quiet material.
Integrated LUFS, the number platforms actually use, is measured across the entire track from start to finish. It is the figure that decides whether a platform turns your track up, down, or leaves it alone.
What limiting actually does
A limiter is a compressor with an extremely high ratio and a fast attack, set to catch anything that tries to cross a ceiling and stop it dead. Where a compressor gently controls a range, a limiter enforces a hard boundary that nothing is allowed to pass. That makes it the last tool in a mastering chain, not a substitute for the mixing decisions that came before it.
Pushed gently, a limiter adds a small amount of density and keeps occasional peaks from clipping. Pushed hard, it starts noticeably changing the shape of the sound: transients get flattened, the sense of punch disappears, and at extreme settings audible distortion creeps in as the limiter works overtime to catch everything. The relationship between attack and release on a limiter follows the same logic as on a regular compressor, just at a more extreme setting, so if that part still feels unclear, our article on how compressors actually work covers the underlying mechanics.
Reference numbers, without treating them as gospel
Streaming platforms have mostly converged on similar targets. Spotify normalizes to around minus 14 LUFS integrated in its default listening mode, with a quieter minus 23 LUFS option and a louder minus 11 LUFS option that most listeners never touch. YouTube sits close to the same minus 14 LUFS mark. Apple Music runs slightly quieter, around minus 16 LUFS. A true peak ceiling around minus 1 to minus 2 dBTP is a common safety margin across all of them, leaving headroom for the lossy encoding every platform applies after upload.
These numbers are useful as a sanity check, not as a target to hit exactly. Mastering to precisely minus 14.0 LUFS is not meaningfully better than landing at minus 13.4 or minus 14.8. What actually matters is staying in the neighborhood while keeping the track dynamic enough to still have impact.
What happens when you push too far
A master driven several dB past a sensible loudness target does not get louder on a platform that normalizes loudness, since the platform turns it back down anyway. What it does get is worse: crushed transients that make drums lose their snap, reduced dynamic range that makes a track feel flat and one-dimensional next to the music around it, and at extreme settings, audible distortion from the limiter running out of room to work cleanly. A track competing for attention by being technically louder loses that fight the moment it hits a platform that measures loudness, and loses a second fight against the listener's ears, since a fatiguing, dynamics-free master is simply less pleasant to listen to on repeat.
A simple, practical order of operations
Master for dynamics first, check the LUFS number second, not the other way around. Get the mix balanced, the low end under control, and the overall energy feeling right with the limiter doing light, mostly invisible work. Only then check where the integrated LUFS reading lands. If a track needs heavy limiting just to reach a loudness target, the problem usually sits earlier in the mix, not in the limiter settings, and pushing the limiter harder will not fix a mix that has too much competing energy in the same frequency range.
Tap the visualizer above to activate audio, then start with light gain reduction and listen to how the transients still breathe. Slowly push the input gain further and watch the waveform flatten as the limiter works harder. Keep going until distortion becomes audible, then back off to the last setting that still sounded clean. That point, not the loudest possible setting, is usually where the limiter should sit.
Loudness is a byproduct, not the goal
The old instinct to master as loud as possible made sense before normalization existed, when loudness itself was a competitive edge on a shuffled playlist. That edge is gone. What is left is a track that either has punch, clarity and dynamic range, or does not, and no amount of limiter gain fixes a mix that was not solid to begin with. Chase a master that sounds good at a sensible level, and the LUFS number tends to take care of itself.
If EQ and compression still feel like separate, disconnected steps rather than a single chain leading here, our articles on EQ basics and compression cover the two steps that come before this one.
Electronic Music Production for Beginners
Mixing and mastering fundamentals like this one, taught in sequence, with hands-on assignments and the full library of interactive tools.
Learn to produce electronic music.
Structured courses, interactive tools and real-world references. Built for producers who are just starting out.