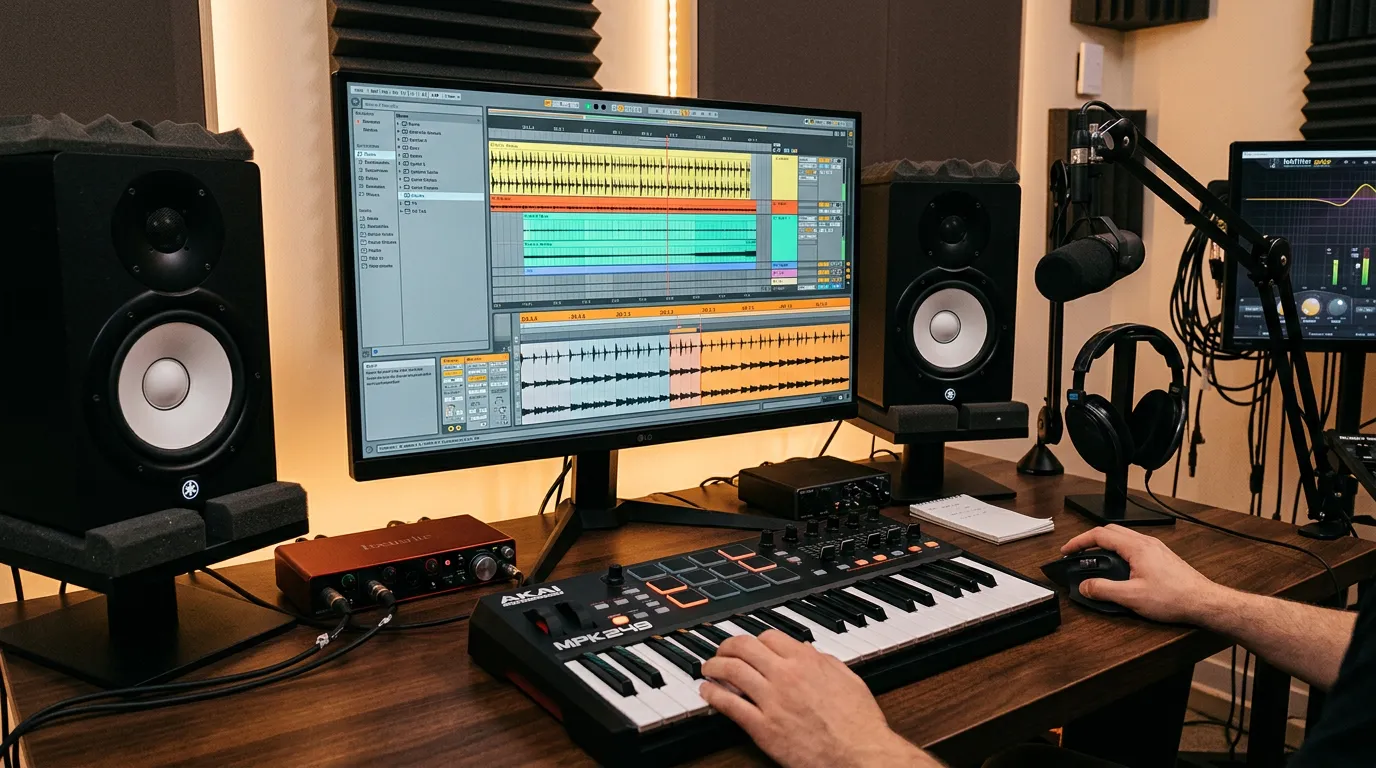
The real obstacle to starting is rarely talent. It is friction. Installing a DAW, learning where every button lives, and reading a manual before you have heard a single idea of your own play back is enough to stop most people before they start. The OHXALA RECORDS Studio removes that step entirely: a sequencer, a three-track piano roll and a small mixer, running fully in your browser, no installation and no account required.
This article walks through building a complete eight-bar sketch from nothing, start to finish, inside the Studio itself.
What the Studio actually is
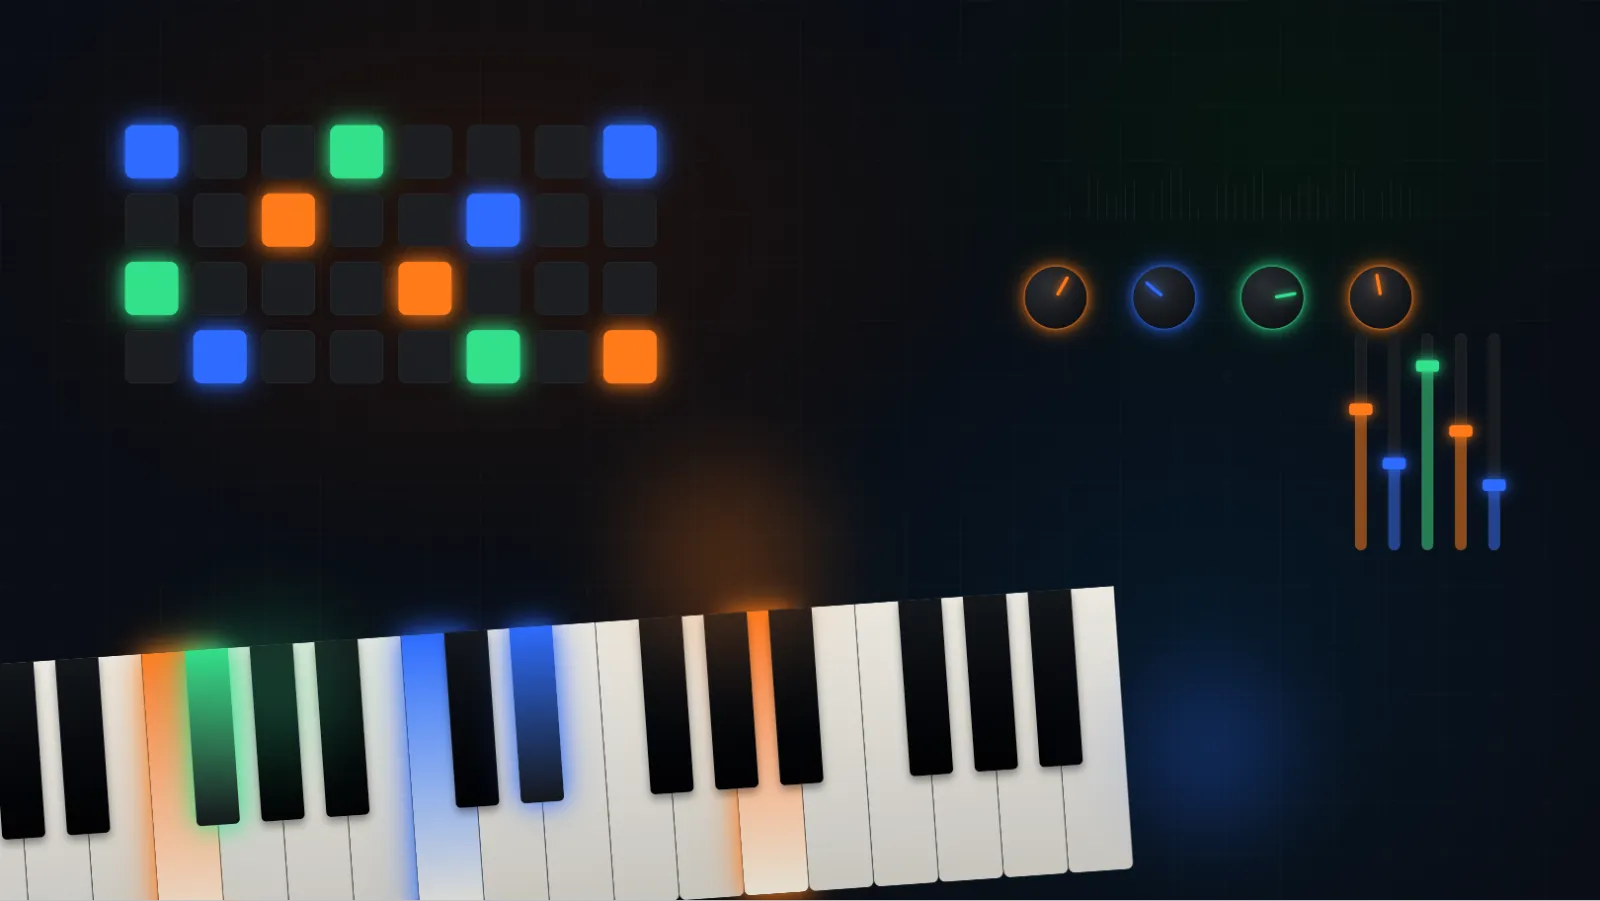
It combines a drum sequencer with a piano roll covering three melodic tracks, bass, chords and lead, plus a small mixer with EQ, compressor, saturation and a limiter on the master bus. Nothing here is a scaled-down toy version of a real workflow. It is the same set of decisions you make in any DAW, just reduced to the tools you actually need for a first sketch.
None of this requires prior production experience. If a term below is unfamiliar, treat it as a hands-on preview of what you will study properly later, not a prerequisite you need to already know.
Open the Studio
Keep it open in a separate tab as you read. Every step below happens directly inside it.
Open the Studio ↗Step 1: the rhythm
Start with the drum sequencer, not the melody. Program a simple four-on-the-floor pattern, kick on every beat, a clap or snare on beats two and four, hi-hats filling the gaps between. Keep it sparse at this stage. It is much easier to add elements to a rhythm that already feels good than to strip away one that already feels crowded.
Step 2: the bass
Switch to the bass track in the piano roll and keep it deliberately simple, two or three notes is plenty for a first sketch. The goal here is not a clever bassline, it is a bassline that locks in with the kick you just programmed. Play it back against the drums a few times and adjust timing before adding anything else.
Step 3: chords and lead
With rhythm and bass in place, build the harmonic layer on top. A short, repeating chord progression on the chords track gives the sketch its emotional color, and a simple lead line, even just a few notes, gives it a melodic hook to hold onto. Neither needs to be complicated. An eight-bar sketch survives on a strong, simple idea far better than on a busy one.
Step 4: a light mix pass
Open the mixer and make small adjustments rather than dramatic ones. A touch of EQ to stop the bass and the kick from crowding the same low end, a light compressor to keep the mix feeling glued together, a little saturation if something feels thin, and the limiter set conservatively just to catch stray peaks. The goal at this stage is not a finished master, it is a sketch that sounds clear enough to judge fairly.
Step 5: listen to it loop
Play the full eight bars back in a loop and listen to it the way you would listen to someone else's track. Does the rhythm hold interest on its own? Does the bass and kick relationship feel tight or muddy? Does the chord progression still feel good on the fourth repeat? These are the same questions you will ask about a full track later, just compressed into eight bars where they are much faster to answer.
Set a 20-minute timer and build one complete eight-bar sketch following the five steps above, in whatever genre feels natural. Do not aim for polish. Aim for a loop that plays back cleanly and that you would not be embarrassed to have someone else hear.
Where this leads
What you just built is a smaller version of the exact workflow behind every finished track, the same sequence covered in our article on how to learn electronic music production. The Studio is deliberately compact, it is meant for sketching an idea quickly, not for finishing a release. When you are ready to take a sketch like this and turn it into a complete, exportable track built specifically around House, Techno and Organic House, with a full DAW workflow and all 19 interactive tools included, that is exactly what EMPB is built to teach.
Electronic Music Production for Beginners
From an eight-bar sketch to a finished, exportable track, taught in sequence, with hands-on assignments and the full library of interactive tools.